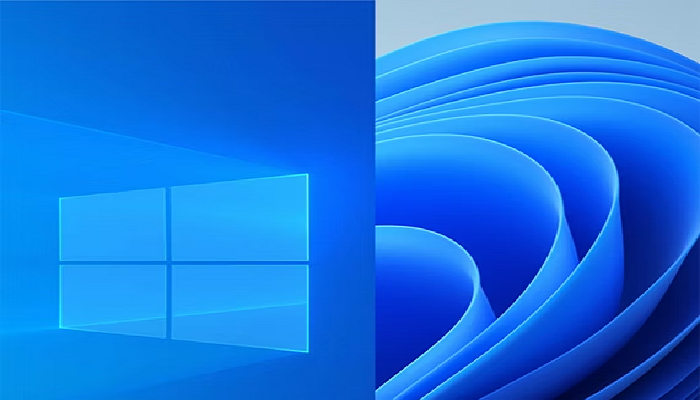
How to Upgrade from Windows 10 to Windows 11: A Simple Step-by-Step Guide

How to Upgrade from Windows 10 to Windows 11: A Simple Step-by-Step Guide
Thinking of making the jump from Windows 10 to Windows 11? You're not alone. Microsoft’s latest operating system brings a sleek new design, improved security features, and better performance. The good news? Upgrading is free for most Windows 10 users, and it’s not as complicated as it sounds.
In this post, we’ll walk you through how to check if your PC is ready and how to upgrade without losing your files or apps.
Step 1: Check if Your PC Meets Windows 11 Requirements
Before you upgrade, your device needs to meet Microsoft’s minimum system requirements. Here's what to check:
-
A compatible 64-bit processor (1GHz or faster with 2+ cores)
-
4GB of RAM or more
-
64GB storage or more
-
TPM version 2.0
-
UEFI firmware with Secure Boot
-
A DirectX 12-compatible graphics card
To make this easy, download Microsoft’s PC Health Check tool. It will tell you right away whether your system is ready for Windows 11.
Step 2: Back Up Your Files
Even though the upgrade is designed to keep your files and apps intact, it's always a smart move to back everything up—just in case. You can use OneDrive, an external hard drive, or another backup solution of your choice.
Step 3: Run Windows Update
If your PC is compatible:
-
Go to Settings > Update & Security > Windows Update
-
Click Check for updates
-
If Windows 11 is available for your device, you’ll see the option to download and install it.
Tip: Microsoft is rolling out Windows 11 in phases, so if you don’t see the option yet, you can either wait or use the Installation Assistant (see next step).
Step 4: Use the Windows 11 Installation Assistant (Optional)
If you don’t want to wait for the automatic update:
-
Visit the official Microsoft Windows 11 download page
-
Download the Windows 11 Installation Assistant
-
Follow the on-screen steps to begin the upgrade
This method works best for users who are comfortable with manually installing updates.
Step 5: Let the Upgrade Run
The upgrade process typically takes 30 minutes to an hour, depending on your system. Your PC will restart several times during installation. Once it's done, you’ll be welcomed by the new Windows 11 interface.

Add New Comment