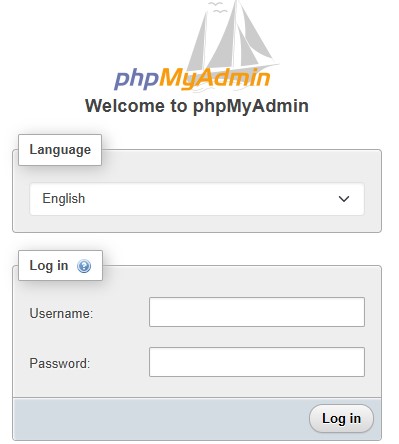
How to Enable or Disable phpMyAdmin in Ubuntu

phpMyAdmin is a widely used web interface for managing MySQL or MariaDB databases. While it's very convenient for developers and administrators, keeping it enabled all the time can be a security risk—especially on public servers. This guide will walk you through enabling or disabling phpMyAdmin on Ubuntu.
✅ Prerequisites
-
Ubuntu system (20.04, 22.04, or similar)
-
Apache web server
-
phpMyAdmin installed
-
Root or sudo access
🔧 How to Disable phpMyAdmin in Ubuntu
If you're not actively using phpMyAdmin or want to secure your server, you can permanently disable it.
Step 1: Disable phpMyAdmin Apache Configuration
This disables the phpMyAdmin configuration in Apache.
Step 2: reload Apache
phpMyAdmin will now be inaccessible via the browser.
✅ How to Enable phpMyAdmin in Ubuntu
When you need phpMyAdmin again, you can easily re-enable it.
Step 1: Enable phpMyAdmin Apache Configuration
Step 2: Reload Apache
Now you can access phpMyAdmin in your browser at:
🔐 Extra Security Tips
-
Use a firewall to restrict access to phpMyAdmin.
-
Enable HTTPS and avoid accessing it over plain HTTP.
-
Consider setting up HTTP authentication to add an extra layer of protection.
-
Always keep your system and phpMyAdmin updated.

Add New Comment